The main function of wood grinding machines is the finishing of natural material with abrasive elements. Machines and accessories of various types can have a wide range of capabilities and allow sharpening knives, polishing decorative and furniture products, and also perform internal and external polishing of the workpiece.
Ultra-fine polishing that gives products a perfectly smooth surface. One of the advantages of such equipment is its excellent performance and high efficiency both when performing a rough grinding process and in high-speed grinding.
In production, you can often find calibration, plate and oscillation (spindle) type aggregates for grinding. Equally popular is the disc grinder, belt grinder and drum polisher. The kinematics of all grinding devices without exception, whether it is a calibration or polishing sample, is based on the rotation or movement of a wooden part along a straight or arc trajectory and the simultaneous rotation of the working part of the unit, but this applies to stationary machines. If you mean a hand tool, then we are not talking about the movement of the workpiece, but only the grinding machine moves. Returning to stationary grinding machines for wood, we note that it is better to perform high-quality surface treatment of large-sized products on tape samples. Factory equipment is not cheap, so many owners of small home workshops are increasingly interested in how to make a belt sander yourself.
Conveyor Belt Design
In order to have an idea about the manufacture of a grinding unit with an emery tape, you need to familiarize yourself with its design, which includes:
- abrasive tape stretched horizontally or vertically on the bed;
- a pair of drums (lead and tension cylinders). In this case, kinematics involves starting the lead element using an electric drive that transmits torque through a belt drive;
- a metal or wooden table, and the first option makes it possible to work with more complex details;
- an electric motor with a power of at least 2.8 kW, due to which the sanding belt (emery) can move at a speed of 20 m / second;
- hood extracting wood dust.

There is a close relationship between the length of the working tool and the bed, as well as similar parameters of the workpieces that are to be processed on this unit. Each experienced master will confirm that working with the equipment is more comfortable if the wood element being processed is inferior in length to the working surface. Properly assembled home-made belt grinding machine will allow you to easily level the surface and remove all errors, making it even and smooth. Also, tape units will quickly and efficiently remove old paintwork, cope with the processing of edges and ends, polish curved shapes and polish a flat wooden furniture element.
Materials for assembly of the machine
Many beginner joiners make a grinder from a drill, but we propose creating an advanced tool. Before assembling a belt sander with your own hands, you need to determine the material for the manufacture of its main components. For example, a desktop is best made of thick metal, giving preference to the overall dimensions of the canvas within 500x180x20 mm. We draw your attention to the fact that the larger the bed, the more functional it is and the more diverse the details whose processing is planned.
Table
The manufacture of the working surface is as follows:
- Cut one side of the metal sheet.
- Mark up.
- Three holes are drilled at the end of the cut web, through which the working surface is bolted to the bed.
Engine selection
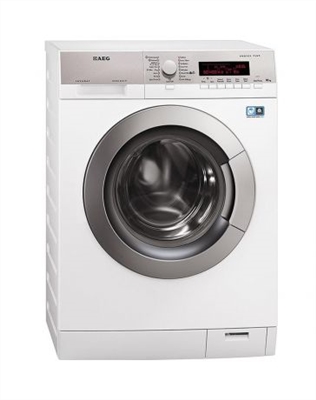
A home-made installation for grinding wood is equipped with an engine, and in this case, an electric drive from a washing machine is suitable, although you can pick up any motor with a power of about 2.8 kW, capable of performing an average of 1200-1500 rpm. The drive is tightly fixed in a stationary state to the bed.
Assembly of drums and tape
Now we have to make two drums on a surface grinding unit, which will require a chipboard sheet from which 200x200 mm blanks are cut and a bag with a diameter of 240 mm is assembled. After assembly, the structure is machined to a diameter of 200 mm. The master cylinder is mounted on the drive shaft, and it will be it that will drive the abrasive material. The tensioning element is fixed around the axis of the bed on bearings.
Make sure that the tape can easily touch the countertop, which is achieved by securing the bevel from the side of the drum.

When assembling the drums, do not forget that their inner diameter must exceed the outer by several millimeters. This is necessary so that the tape is placed in the middle of the cylinder and does not slip. Now we need a sanding belt, for which an abrasive sandpaper is suitable, cut into strips, and then glued together with a high-quality adhesive.
Drum-grinding unit
Just like industrial designs, household units can have different equipment, although, as noted earlier, their kinematic scheme and principle of operation are similar. Above, we talked about how to assemble belt grinding equipment, and now we will learn how to make a home-made drum grinding machine.

In this case, instead of a stretched abrasive tape, the home-made product is equipped with a disk that resembles a drum in shape, by which polishing of wooden workpieces is performed. As in the previous case, this simple type of units is created quickly and without any special difficulties, moreover, here we also do not need a complex diagram or sophisticated drawings.
Assembly process
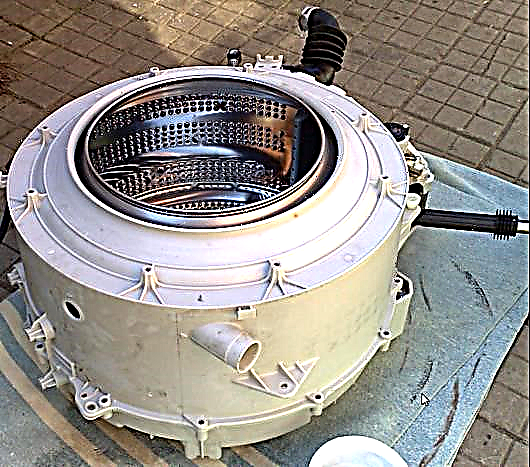
By constructing a drum grinding machine with your own hands, you can use an asynchronous motor from the washing machine, and in addition to it, pulleys, a belt and useful electronic parts are removed from the old machine. Grinding drums are usually made of cylindrical whetstones, wooden rings, a cardboard or plastic pipe.
Starting to make a grinder on wood, a segment equal to the length of the main grinding element is cut from the pipe so that it is slightly shorter than the rod, which will be fixed in the future. End caps equal to the diameter of the pipe, with holes in the middle, are cut out from the plywood sheet. The plugs are fixed at the ends of the pipe with screws.

Now you can install the axis of the rod, fixed with reliable glue. The surface of the pipe is fitted with sheet rubber, which will ensure a better fit of the workpiece. The emery cloth is helically attached to the surface of the drum with a stapler, and the grinding drum is ready.
The body and working surface of the unit are made of wood or solid plywood. The movable part of the desktop in front is mounted on the adjusting screw, and on the back it is hinged. The engine is hung on the lower part of the housing, where a hole is made in advance, and a drum made by hand is attached to the upper part of the bed. The rod (axis) sits on both sides on bearings fixed to the side struts. At the final stage, the pulleys are mounted on the axle and the belt drive is pulled. To consolidate the knowledge gained, we suggest watching a video.